![]()
![]()
![]()
![]()
|
|
|
|
|
Go to: Maintenance menu > Report Formats > Report Letterhead Logos.
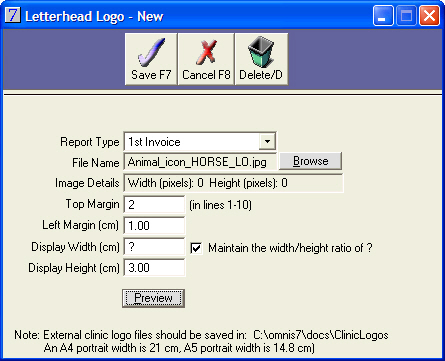
You can now add, edit, or delete letterhead logos for the following reports:
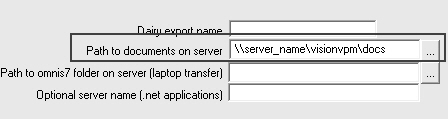
A ClinicLogos folder will be automatically created in the docs folder, designated in Main menu > Maintenance module > Maintenance menu > System Defaults > System tab > Path to documents on server when you run this update.
Note: This is designed for letterhead logos - the logo can only be placed in the top section of the report.
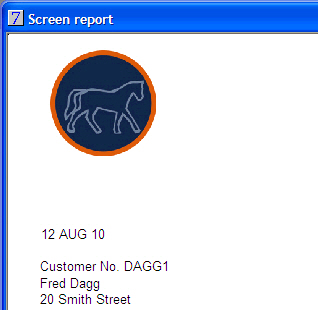
Note: A logo can be added to a letterhead report or a non-letterhead report. Before finalising, a test report should be printed to ensure the logo does not overlap the clinic details added by VisionVPM or any details on pre-printed letterhead stationery.
See Also |