There is now functionality in VisionVPM to enter bulk payments for clients set up for direct debit payment and create an autobanking file to import into your banking software.
Please note that this is only available for the standard Australian bank format and for clinics banking with Westpac in New Zealand.
This function is similar to the Suppliers Payment Run for creditors.
The following steps will need to be completed in order to use the client direct debit payment function:
Step 1: Set up the autobanking details.
Step 2: Attach a marker to direct debit clients (optional).
Step 3: Enter client direct debit payment details.
Step 1: Set up the autobanking details
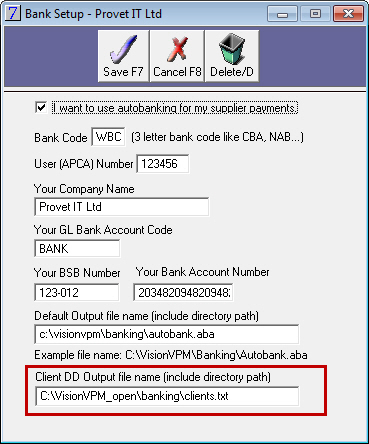
To create an autobanking file for client direct debits, you will have to enter the autobanking details in Maintenance > Lookup Lists > General Lists > Autobanking.
Enter a file name including the path in the Client DD Output file name field.
NZ Bank Setup window:
Australian Bank Setup window:
Click Save.
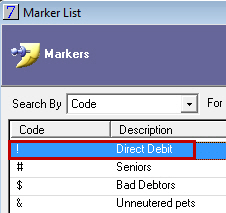
Step 2: Attach a marker to direct debit clients (optional).
You can choose to add a client marker on the Client Details window for each client to be included in the direct debit payment run.
Please note, if you do not add a client marker, VisionVPM will still recognise clients set up for direct debit payments.
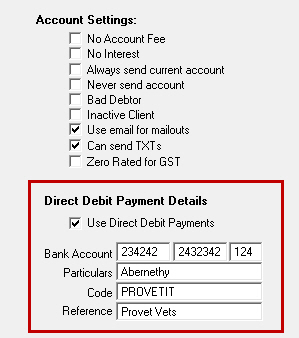
Step 3: Enter client direct debit payment details.
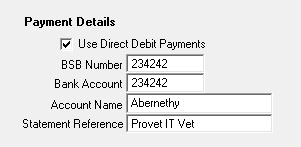
On the Settings tab of the Client Details, select the Use Direct Debit Payments check box.
Then enter the Bank Account, Particulars, Code and Reference.
NZ Payment Details:
Australian Payment Details:
Click Save.
Running the Direct Debit Payment Run
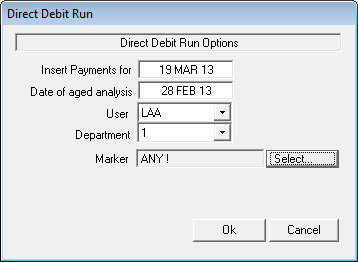
Go to: Clients menu > Direct Debit Payment Run.
In the Insert Payments for field, type the date that you want the payments to be dated.
In the Date of aged analysis field, enter the last date of the month for the ageing.
The User and Department will be automatically populated from either Computer Defaults or Vet in Session.
Optional: Click Select, and then double-click to select the client marker denoting direct debit clients.
Click Ok.
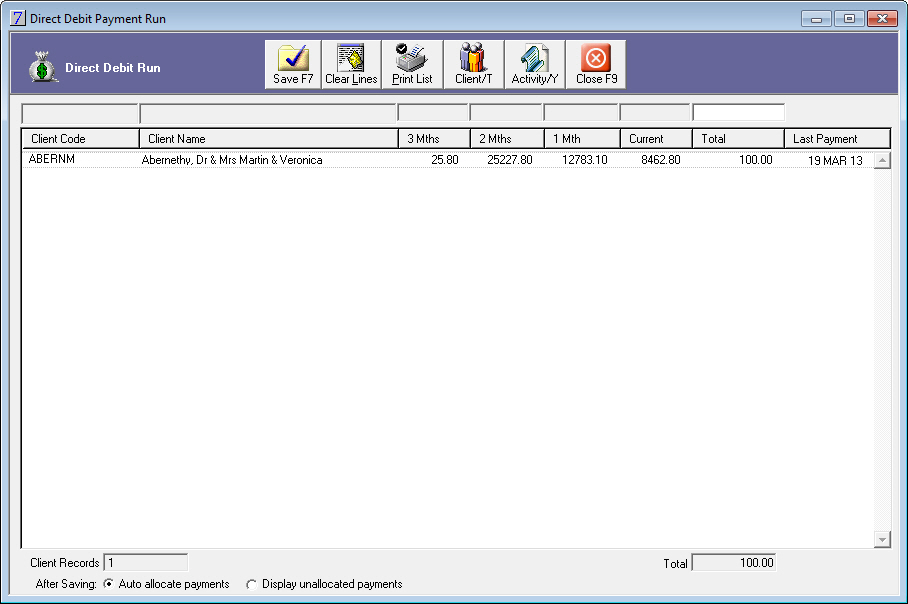
VisionVPM will display the Direct Debit Payment Run window.
Optional:
You can change the payment by double-clicking the required client, changing the Total and then pressing ENTER to drop the client into the list again.
To clear a client from the list, select the client and click Clear.
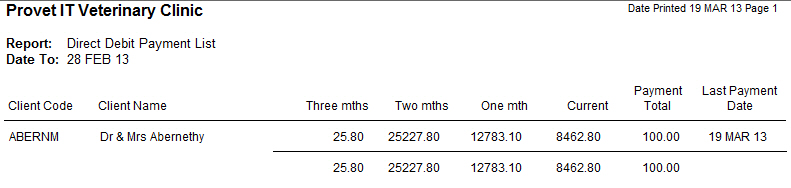
To print a copy of the payment list, click Print, select the required output and click OK.
To go to the Client Details window, select the required client and click Client.
To go to the Client Activity window, select the required client and click Activity.
To allocate the payment manually, select Display Unallocated Payments.
Click Save.
VisionVPM will display the following prompt:
Click Yes, and VisionVPM will display the following prompt:
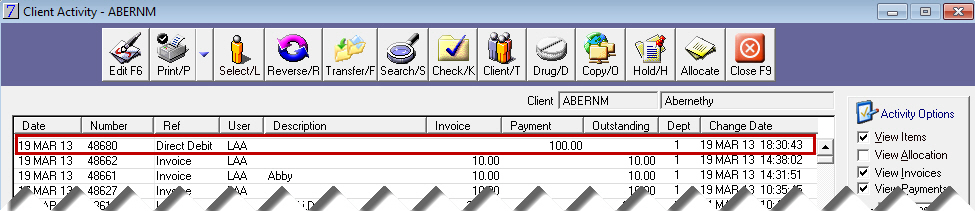
Click Yes, and VisionVPM will automatically:
create a direct debit payment for each client on the list which can be viewed from the Client Activity window.
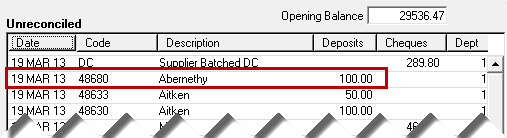
enter each transaction on the Bank Reconciliation window.
populate the autobanking file for client direct debits.
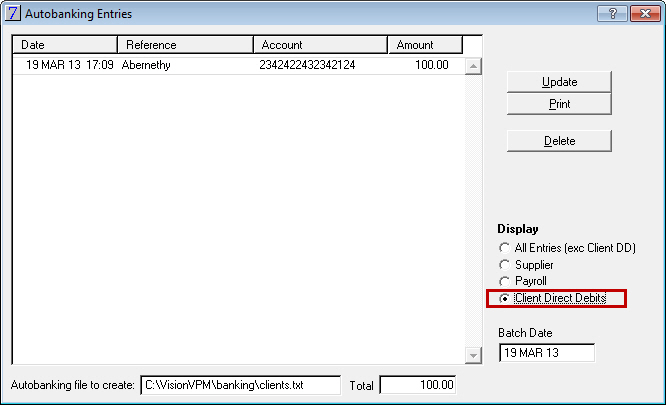
To create the autobanking file
Go to: Main menu > Autobanking.
Select Client Direct Debits.
Click Update, and then click Yes to the following prompt:
Click Yes, and VisionVPM will clear the entries from the Autobanking Entries window.
Your client direct debit payments file is now ready to be imported into your banking software.