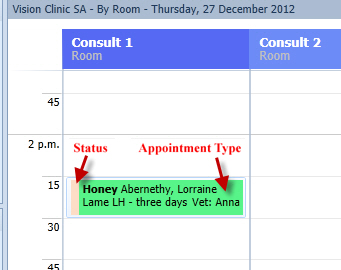
Appointments have two colours, one colour is the background (dominant) colour, while the other is displayed as a strip along the left edge of the appointment cell. There are three options for each of these two colours.
The colours can be used to indicate the Appointment Status, for example, In Waiting Room, the Appointment Type, for example, Standard Consultation or the User/Vet. When there are multiple users or vets linked to an appointment, the colour used will be that of the Primary Vet.
Clinics are able to select which will be the background (dominant) colour and which will be the strip colour. In the following examples the Appointment Type is the dominant colour and the Appointment Status is the strip colour.
To Create a New Appointment
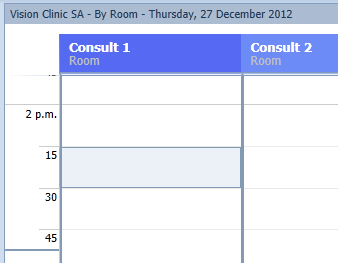
In the Appointment Book, select the required Date and Resource and then double-click in the required timeslot for the Resource.
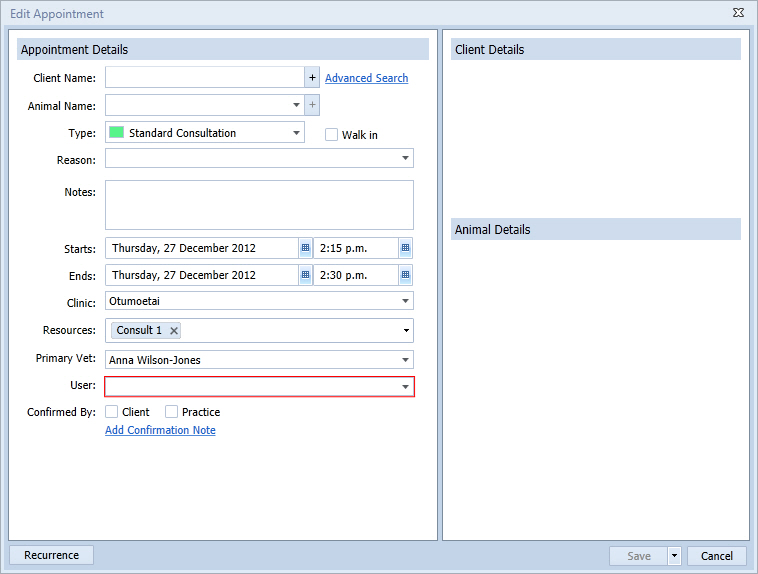
The Edit Appointment window will be displayed:
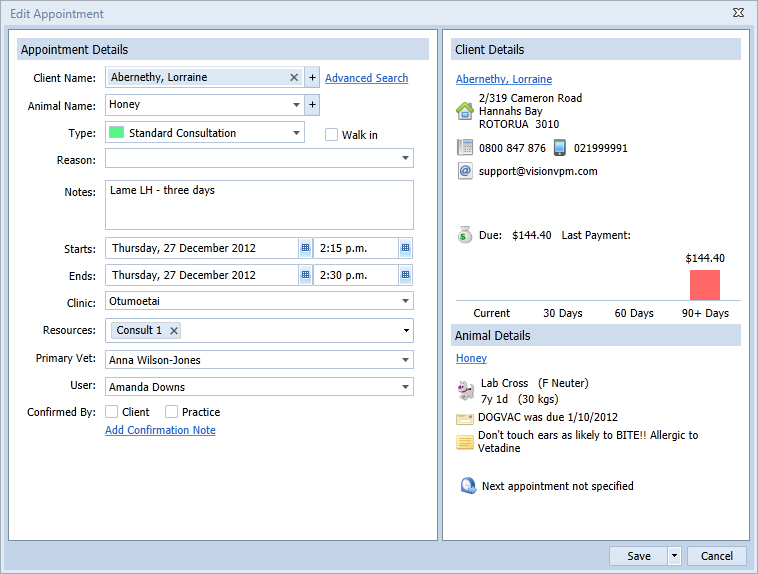
Enter the client and animal details.
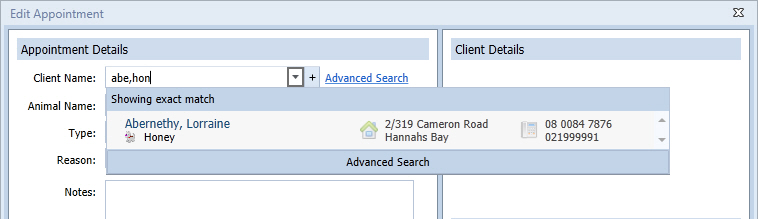
To search by client and animal: type the first three letters of the client's last name, then a comma, then the first three letters of the animal's name.
Click Enter.
Select the appointment type and reason.
Enter additional notes as required.
Edit other fields as required.
It is optional to select the Primary Vet. This may already be loaded by default.
Select the User. Please note that this is compulsory when the User field has a red border.
Click Save.
The appointment is displayed in the Appointment Book.
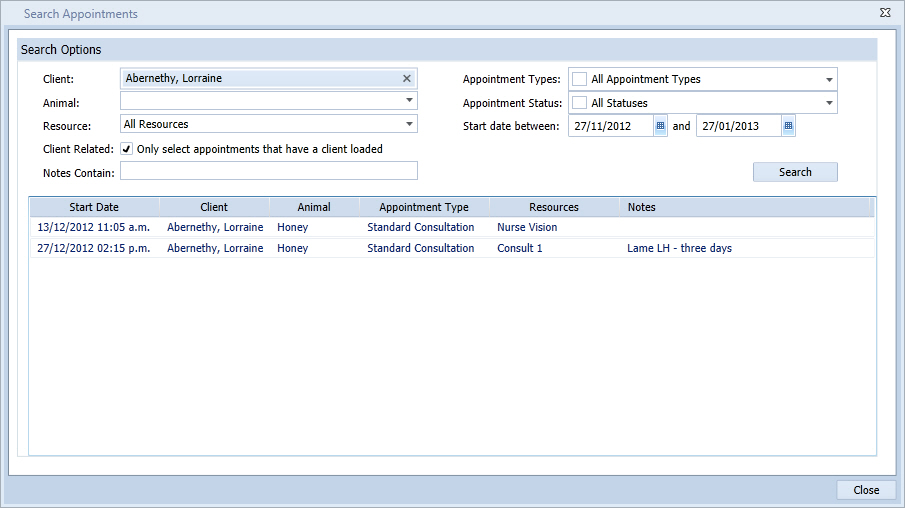
Finding an Appointment
If the client cannot remember the date of the appointment, go to the Appointment Book and click Search.
The Search Appointments window will be displayed.
Enter the client's name.
The Start date between defaults to one month before and one month after the current date. Change these dates if required.
Click Search.
The client's appointments within the selected time frame will be displayed.
Double-click to select the required appointment and go back to that appointment in the appointment book.
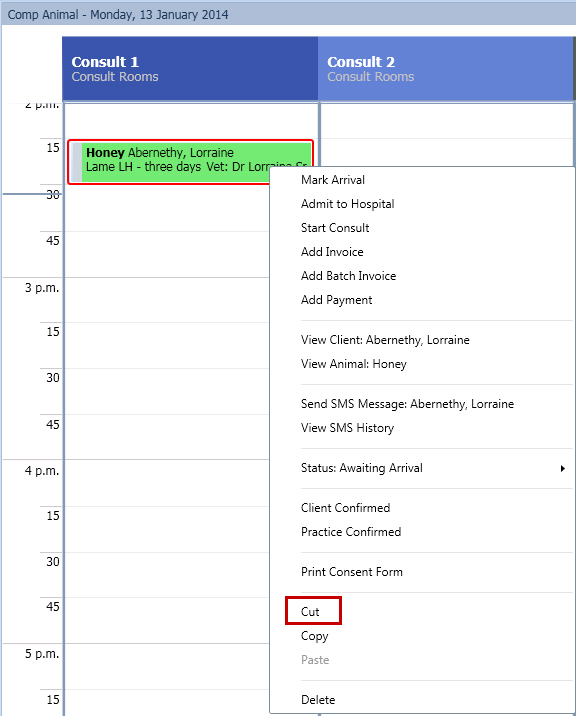
Changing an Appointment Time
Appointments can be moved by using Cut and Paste or Drag and Drop.
Cut and Paste
Right-click on the client's appointment in the appointment book and click Cut.
Go to the new timeslot. Right-click, then click Paste.
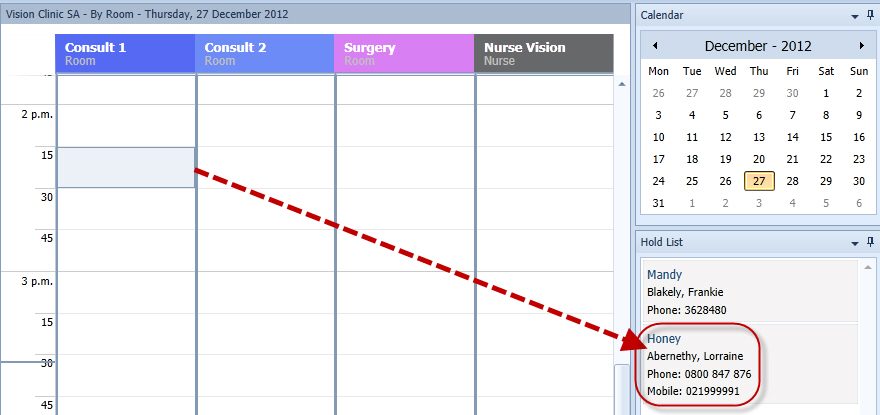
Drag and Drop
Use the mouse to click and hold the appointment you wish to move.
Continue to hold while you drag the appointment to its new position, then release.
If the client is unable to decide on a new time for the appointment, instead of deleting the appointment you could move it to the Hold List using either method: cut and paste or drag and drop.