When you do not receive a supplier's invoice with your goods and you have created a goods receipt, once you receive the invoice you need to turn the goods receipt into a suppliers invoice.
Go to: Main menu > Suppliers module > Suppliers menu > Supplier Invoice > Insert.
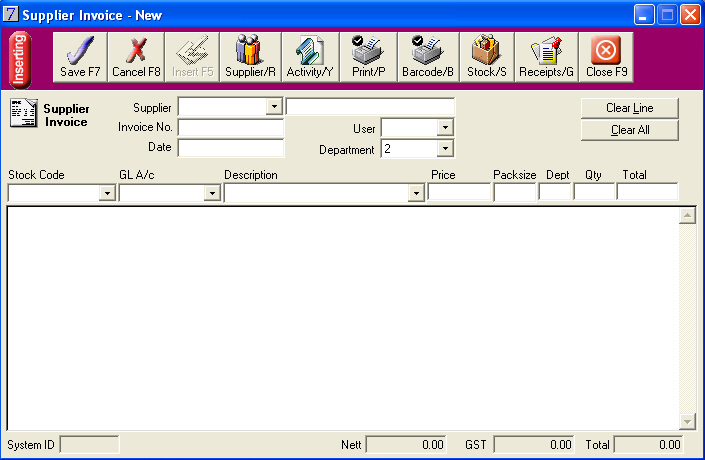
From the Supplier Invoice window, click Receipts, and then click Yes to the prompt:
In the Goods Receipt List window, double-click the goods receipt that you wish to turn into a supplier invoice.
The Invoice No and Date fields will be populated with the goods receipt number and today's date; however, these should be overtyped with the invoice number and date from the supplier's invoice.
Click the User arrow, and then double-click to select your user code.
From the Supplier Invoice window, click the Supplier arrow and then double-click to select the supplier.
The Department field is automatically populated with the default department code. This can be changed.
To change the quantity received or purchase price of an item, double-click the stock item, and then in the Qty or Price field, type the correct quantity received or price.
To add any additional stock items to the invoice, in the Stock Code field, type the first few characters of the code, and click the Stock Code arrow, and then select the stock item that you wish to purchase.
The associated GL A/c code, stock Description, Price, and Packsize fields are automatically populated as you Tab through.
The Net, GST, and Total amounts are calculated automatically as you Tab through.
If the calculated GST amount is different to that displayed on the invoice, in the GST field, over-type the GST amount.
To clear a line from the invoice, select the line and click Clear Line.
To clear all lines from the invoice, click Clear All.
To enter freight onto the invoice, click the GL Code arrow, and then from the GL Account List window, double-click to select the general ledger code for freight.
When all items on the invoice have been entered, click Save.
The invoice will be displayed in the supplier's activity.